
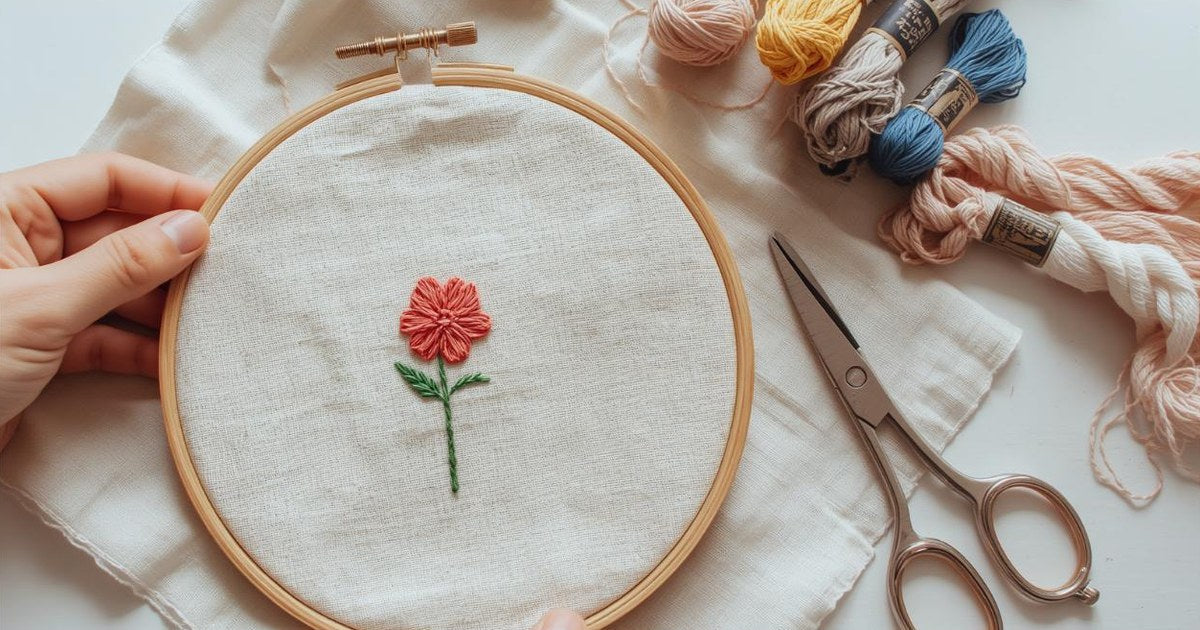
Quick answer: To embroider by hand, first transfer a simple design onto tightly woven cotton fabric. Stretch the fabric in an embroidery hoop and thread an embroidery needle with 2–3 strands of cotton floss. Then stitch along the lines, starting with easy stitches like the running stitch, backstitch and satin stitch. Knot or weave in your thread on the back, remove the hoop and press your finished piece.
Embroidery is one of the most relaxing, beginner-friendly crafts out there. You only need a few inexpensive supplies and an afternoon to finish your first piece. This guide covers everything a complete beginner needs: tools, setup, the first stitches to learn and how to finish your work so it lasts.

What Supplies Do You Need to Start Embroidering?
- Fabric: start with medium-weight, tightly woven cotton or linen. Avoid stretchy fabrics until you've had some practice.
- Embroidery hoop: a 6-inch (15 cm) wooden or plastic hoop is the easiest size to hold.
- Embroidery floss: six-strand cotton floss (such as DMC or Anchor) comes in hundreds of colors.
- Embroidery needles: size 5–7 "embroidery" or "crewel" needles have a sharp tip and a long eye for floss.
- Small sharp scissors for trimming threads.
- A transfer tool: a water-soluble pen, heat-erasable pen or a light pencil.
- A design: a simple line drawing, a free pattern, or a beginner kit.
How to Embroider for Beginners: Step by Step
- Transfer your design. Tape the pattern to a bright window, place the fabric over it and trace the lines with a water-soluble or heat-erasable pen.
- Hoop your fabric. Loosen the screw on the outer hoop and place the inner ring under the fabric. Press the outer ring on top and tighten it. Pull the fabric gently until it's drum-tight.
- Prepare the floss. Cut a piece about 18 inches (45 cm) long. Longer threads tangle. Separate out 2–3 strands for fine lines, or use all 6 for bold ones.
- Thread the needle and start. Tie a small knot at the end. Or, for a neater back, use a "waste knot" a few inches away that you snip off later.
- Stitch your design. Bring the needle up from the back, follow the lines with your chosen stitch and keep the tension even. The fabric shouldn't pucker.
- Finish each thread. On the back, slide the needle under 3–4 nearby stitches, then trim the tail.
- Remove markings and press. Rinse away water-soluble pen, or iron away heat-erasable pen. Then press the piece face-down on a towel so you don't flatten the stitches.
What Are the Easiest Embroidery Stitches to Learn First?
- Running stitch: a simple up-and-down dashed line. Great for outlines and borders.
- Backstitch: a solid line made by stitching backward into the previous stitch. It's the go-to stitch for text and outlines.
- Split stitch: similar to backstitch, but each stitch comes up through the middle of the last one, which creates a rope-like line.
- Stem stitch: a smooth, slightly twisted line that's perfect for flower stems and curves.
- Satin stitch: close, parallel stitches that fill a shape with solid, glossy color.
- French knot: a small raised dot for flower centers, eyes and texture.
- Lazy daisy: a looped stitch that makes quick, pretty petals and leaves.
Master these seven and you can stitch most beginner patterns.
How Many Strands of Embroidery Floss Should I Use?
Most beginner patterns use 2–3 strands. Use 1–2 strands for fine details and small lettering, 3–4 for general outlines, and all 6 strands for bold lines or quick fills. Fewer strands give a more delicate, precise look.
Hand Embroidery vs. Machine Embroidery
Hand embroidery uses a needle and floss. It's portable and inexpensive, and it gives a soft, textured, one-of-a-kind finish. Machine embroidery uses a computerized machine and digital design files to stitch the same design quickly and consistently. That's why it's used for logos, hats and apparel. Many crafters start by hand to learn how stitches work, then move to a machine for larger projects.
Beginner Embroidery Tips
- Keep the fabric drum-tight in the hoop to avoid puckering.
- Let your needle hang and spin every so often to untwist the floss.
- Don't carry thread across large gaps on the back, because it can show through light fabric.
- Remove the hoop when you stop for the day so it doesn't leave a permanent crease.
- Start with a small design. Finishing a project builds confidence faster than a huge piece.
Frequently Asked Questions
Is embroidery hard to learn?
No. Most people can learn the basic stitches in an hour and finish a simple design in a weekend. Like any craft, neat results come with practice.
What fabric is best for beginner embroidery?
Tightly woven, medium-weight cotton or linen is easiest. It holds its shape in the hoop and doesn't stretch as you stitch.
Can you embroider on clothes?
Yes. Denim, cotton T-shirts, sweatshirts and hats can all be embroidered. On stretchy knits, iron a piece of stabilizer to the back first so the stitches don't pucker.
Do I need an embroidery hoop?
It's strongly recommended. A hoop keeps the fabric taut, which gives you even stitches and far less puckering.
How do I wash embroidered items?
Hand-wash or machine-wash cold on a gentle cycle, inside out. Lay flat to dry, then press from the back.
Start Stitching Today
Embroidery is simple once you have the basics: a hoop, good fabric, floss and a few core stitches. Pick a small design, take your time and enjoy the process.
Want the look without the stitching? Explore our embroidered hoodies and sweatshirts, embroidered baseball hats and personalized embroidered gifts.


