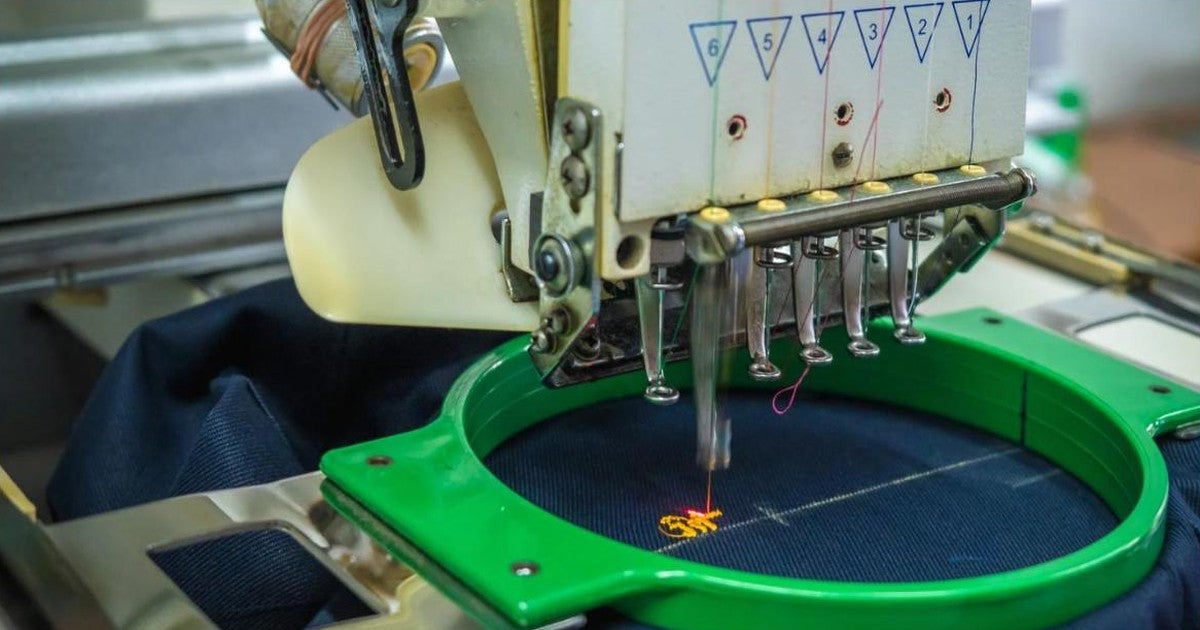
Quick answer: Embroidery digitizing is the process of converting artwork, such as a logo or drawing, into a stitch file that an embroidery machine can read. A digitizer uses special software to decide the stitch types (running, satin or fill), stitch direction, density, underlay, color changes and the order the machine sews each part. The result is a machine file, such as DST, PES or JEF, that tells the machine exactly where to place every stitch.
Embroidery machines can't read a JPG or PNG directly. They need a digitized file with precise stitch instructions. Here's what embroidery digitizing is, how it works and why good digitizing makes the difference between crisp embroidery and a puckered mess.
How Embroidery Digitizing Works
- Prepare the artwork: simplify the design, reduce tiny details and set the final size.
- Choose stitch types: running stitch for fine lines, satin stitch for borders and lettering, and fill (tatami) stitch for large areas.
- Set direction and density: stitch angles add texture and shine; density controls how many stitches cover an area.
- Add underlay: foundation stitches that stabilize the fabric and lift the top stitches.
- Plan pathing: the order in which elements are stitched, to reduce jumps and trims.
- Add pull compensation: slightly widen shapes to offset fabric pulling during stitching.
- Export the file: save in the format your machine uses.
- Test stitch: sew a sample and adjust before production.
Common Embroidery File Formats
- DST: Tajima, widely used on commercial machines
- PES: Brother and Baby Lock home machines
- JEF: Janome
- EXP: Melco and Bernina
- VP3 / HUS: Husqvarna Viking and Pfaff
Auto-Digitizing vs. Manual Digitizing
- Auto-digitizing: software converts an image automatically. It's fast but often produces poor density, messy pathing and weak lettering.
- Manual digitizing: a skilled digitizer plots every element by hand. It takes longer but stitches cleanly, especially for logos and small text.
What Makes Good Digitizing
- Smooth, readable lettering (generally at least 0.25 inch / 6 mm tall)
- Correct density for the fabric, lighter on knits and denser on twill
- Minimal jump stitches and trims
- Proper underlay to prevent puckering
- Design adjusted for the fabric and placement (caps, sleeves, chest)
Popular Digitizing Software
- Wilcom EmbroideryStudio (professional)
- Hatch Embroidery
- Embrilliance
- Brother PE-Design
- Ink/Stitch (free, open-source plugin for Inkscape)
Frequently Asked Questions
Can I use a JPG for embroidery?
Not directly. A JPG must be digitized into a stitch file before an embroidery machine can sew it.
How long does digitizing take?
A simple logo may take under an hour; detailed designs can take several hours.
Is digitizing hard to learn?
The basics are learnable in a few weeks, but mastering density, pathing and lettering takes practice.
Why does my embroidery look puckered?
Often it's digitizing: too much density, missing underlay or no pull compensation. Stabilizer choice also matters.
Learn More About Machine Embroidery
Digitizing is the first step in every machine embroidery project. Read how embroidery machines work and how to make embroidery designs.
See professional digitizing in action on our embroidered baseball hats.