
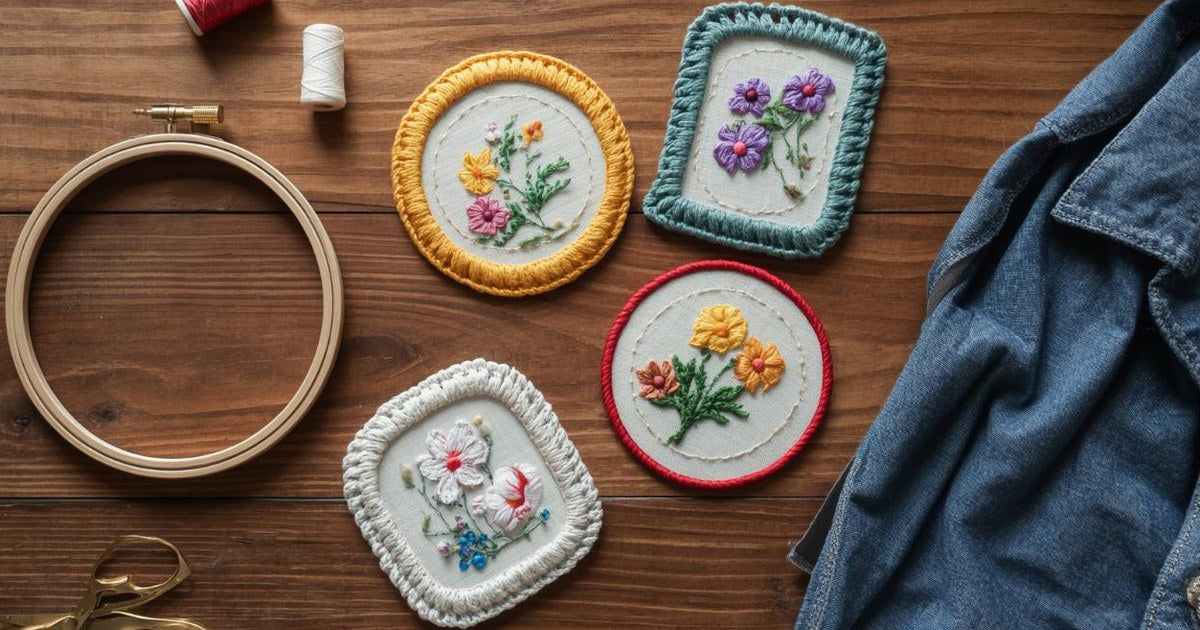
Quick answer: To make an embroidery patch, hoop a sturdy fabric such as cotton twill or canvas with a layer of stabilizer behind it. Stitch your design, then outline it with a dense satin stitch or blanket stitch border. Cut the patch out just outside the border and seal the edges with fray stopper. Finish the back with felt for a sew-on patch, or with heat-activated adhesive for an iron-on patch.
Custom embroidered patches are a fun way to personalize jackets, bags and hats, and you can make them by hand or with an embroidery machine. This guide covers both methods, the supplies you need, and how to finish the edges and backing so your patch looks professional and lasts.
What Supplies Do You Need to Make Embroidery Patches?
- Base fabric: a firm, tightly woven fabric such as cotton twill, canvas, denim or felt.
- Stabilizer: tear-away or cut-away stabilizer keeps the fabric from puckering under dense stitches.
- Embroidery hoop (hand) or machine hoop.
- Thread: six-strand cotton floss for hand patches, or polyester/rayon machine embroidery thread.
- Needles: embroidery needles for hand work, or 75/11 embroidery needles for machines.
- Sharp scissors or small curved embroidery scissors.
- Fray stopper (such as Fray Check) or clear fabric glue.
- Backing: felt for sew-on patches, or fusible adhesive web for iron-on patches.
How to Make an Embroidered Patch by Hand
- Draw or transfer your design. Keep it simple for your first patch. Bold shapes work better than tiny details. Trace it onto your base fabric with a water-soluble pen.
- Add stabilizer and hoop it. Place a piece of stabilizer behind the fabric, then hoop both layers together until drum-tight.
- Fill the design. Use satin stitch or long-and-short stitch for solid color areas. Use backstitch or split stitch for outlines and details.
- Stitch the border. Work a dense satin stitch or tight blanket stitch around the outer edge, about ⅛ inch (3 mm) wide. The border is what makes it look like a "real" patch.
- Seal the back. Brush a thin layer of fabric glue on the back to lock the stitches in place and let it dry.
- Cut it out. Trim close to the outside of the border, being careful not to snip any stitches.
- Seal the edges. Run fray stopper along the cut edge and let it dry.
- Add the backing. Glue on a piece of felt cut to shape for a sew-on patch, or fuse an adhesive web for an iron-on patch.
How to Make Patches With an Embroidery Machine
- Prepare the design file. Choose or digitize a patch design with a satin-stitch border (often called a "patch" or "badge" design) in your machine's file format.
- Hoop fabric and stabilizer. Hoop twill with cut-away or heavy tear-away stabilizer. Some makers hoop water-soluble stabilizer alone for "freestanding" patches.
- Stitch the placement line and design. Let the machine stitch the outline, the fill and the details.
- Stitch the border. The final satin border covers the raw edge area.
- Unhoop and trim. Remove excess stabilizer and cut close to the border. On polyester twill, a hot knife or heat cutter can seal the edge as it cuts.
- Apply the backing. Fuse heat-activated adhesive for an iron-on patch, or leave it plain to sew on.
How Do You Make an Embroidered Patch Iron-On?
Cut a piece of fusible adhesive web (such as HeatnBond) slightly larger than your patch. Place it on the back of the patch with the paper side up, and press with a hot, dry iron for a few seconds. Let it cool, trim the excess and peel off the paper. When you're ready to apply it, follow our step-by-step guide on how to iron on a patch.
Tips for Professional-Looking Patches
- Use a firm base fabric. Thin cotton will pucker and curl.
- Make the border dense and even, because it hides the cut edge.
- Keep designs bold and simple, especially for small patches under 3 inches.
- Seal the back and edges so the patch doesn't fray in the wash.
- Add a few stitches around the edge after ironing if the patch will be washed often.
Frequently Asked Questions
What fabric is best for embroidered patches?
Cotton or polyester twill is the classic choice because it's firm, smooth and holds dense stitches well. Canvas, denim and felt also work.
Can you make patches without an embroidery machine?
Yes. Hand-embroidered patches just take longer. Satin stitch for fills and a tight blanket stitch border give great results.
How do you stop patch edges from fraying?
Stitch a dense border, cut close to it, and seal the cut edge with fray stopper or clear fabric glue. On polyester twill, heat-sealing the edge also works.
Are sew-on or iron-on patches better?
Sew-on patches are more durable. Iron-on patches are faster to apply. For items that get washed often, iron the patch on and then stitch around the edge.
Start Making Your Own Patches
With a firm fabric, stabilizer and a neat border, you can make patches that look store-bought. Start with a simple shape, then try more detailed designs as your skills grow.
Want embroidery without the DIY? Explore our embroidered baseball hats and embroidered hoodies and sweatshirts.


