
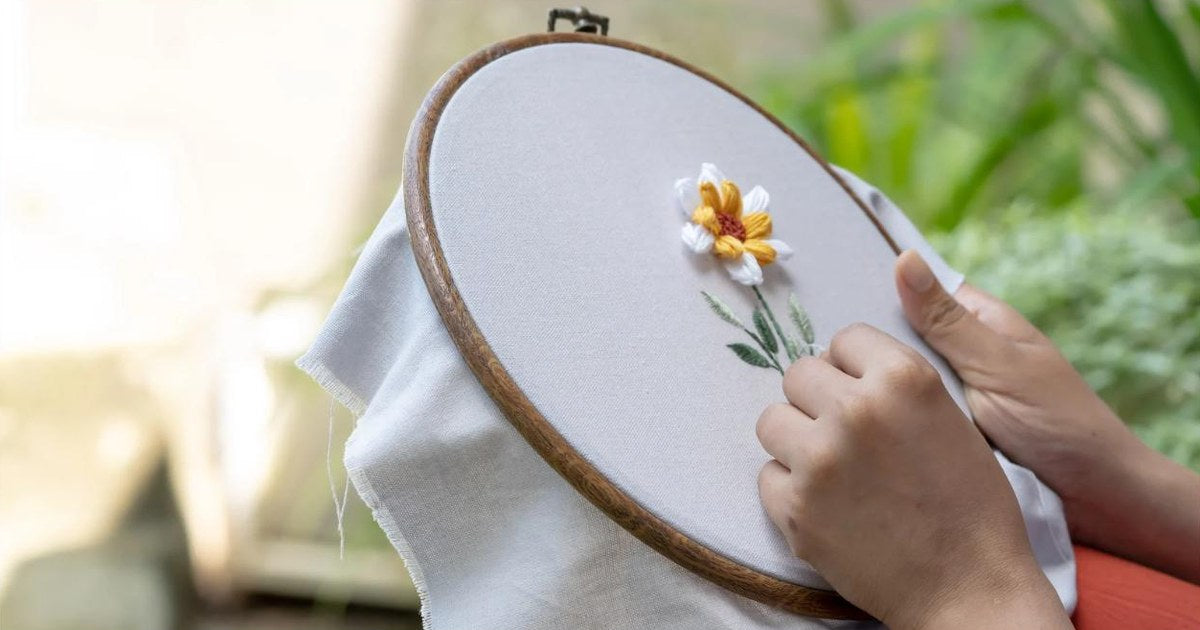
Quick answer: To start an embroidery stitch, cut about 18 inches of floss, separate the strands you need, and thread your needle. Then secure the thread on the back of the fabric with a small knot, a waste knot, or an away knot. A loop start also works when using an even number of strands. Bring the needle up from the back at the start of your design line and begin stitching. Leave a short tail and catch it under your first few stitches on the back so it can't pull loose.
Knowing how to start (and end) your thread neatly is one of the most important embroidery basics. A good start keeps stitches from unraveling and keeps the back of your work tidy. Here are the easiest ways to start an embroidery stitch, with or without a knot.
Before You Start: Prepare Your Thread
- Cut the floss to about 18 inches (45 cm). Longer threads tangle and wear out.
- Separate the strands. Pull out the number of strands you need one at a time, then put them back together. This helps them lie flat.
- Thread the needle. Fold the floss over the needle, pinch it tight, and push the fold through the eye.
Method 1: The Simple Knot
Tie a small knot at the end of the thread, bring the needle up from the back, and start stitching. It's quick and easy for beginners. Just keep knots small so they don't show through the front or create bumps.
Method 2: The Waste Knot
- Knot the end of the thread.
- Insert the needle from the front about 2–3 inches away from your starting point, along the line you'll stitch, so the knot sits on top.
- Bring the needle up at your starting point and begin stitching toward the knot. Your stitches will cover the thread on the back.
- When you reach the knot, snip it off. The tail is now secured under the stitches.
Method 3: The Away Knot
Similar to the waste knot, but placed well away from the design (4–5 inches). After stitching, snip the knot, thread the tail onto a needle, and weave it under stitches on the back. It's great for keeping the back very clean.
Method 4: The Loop Start (No Knot)
- Take one strand of floss twice as long as you need and fold it in half.
- Thread both cut ends through the needle, leaving a loop at the other end.
- Bring the needle up from the back, take your first stitch, and come back down.
- On the back, pass the needle through the loop and pull gently. The thread is locked in place.
This method works for 2, 4 or 6 strands, using 1, 2 or 3 folded strands.
How Do You End an Embroidery Thread?
On the back, slide the needle under 3–5 nearby stitches, loop it through once more, and trim the tail. You can also tie a small knot by making a tiny loop around a back stitch. Avoid long jumps across the back between areas. End and restart instead.
Common Mistakes When Starting a Stitch
- Using a thread that's too long, which tangles and frays
- Big knots that show through or pull through the fabric
- Not separating strands, which causes twisted, uneven stitches
- Starting from the front instead of the back, unless you're using a waste knot
Frequently Asked Questions
Should you use a knot in embroidery?
Yes, small knots are fine for most projects. For a neater back or for items like towels and clothing, use a waste knot, away knot or loop start.
How long should embroidery thread be?
About 18 inches (45 cm), roughly from your fingertips to your elbow.
Which side do you start embroidery from?
Usually from the back, bringing the needle up to the front at the start of your line.
What is the easiest stitch to start with?
Running stitch and backstitch are the easiest first stitches.
Start Stitching With Confidence
Once you know how to start and end your thread, every other stitch gets easier. Next, learn how to backstitch and follow our full beginner's guide to embroidery.
Looking for a finished gift instead? Explore our personalized embroidered gifts.


