Quick answer: To do a stem stitch, bring the needle up at the start of your line, go down about ¼ inch (6 mm) further along, then come back up halfway along that first stitch, just beside it. Keep the working thread on the same side of the needle (usually below the line) for every stitch. Repeat, always coming up at the end of the previous stitch's midpoint, to create a smooth, slightly twisted, rope-like line that is perfect for stems, vines and curved outlines.
Stem stitch is one of the most useful outline stitches in hand embroidery. It follows curves beautifully, looks like a twisted cord and is quick to learn. Here's how to embroider stem stitch step by step, plus tips for smooth curves and common mistakes to avoid.
What You Need
- Fabric in an embroidery hoop
- Embroidery floss (2–3 strands for most lines)
- An embroidery needle
- A drawn line or pattern to follow
How to Embroider Stem Stitch: Step by Step
- Start: bring the needle up from the back at the beginning of the line (point A).
- First stitch: insert the needle about ¼ inch along the line (point B), but don't pull it all the way through yet.
- Come back up halfway: bring the needle up halfway between A and B, just beside the first stitch, with the thread held below the line.
- Pull through: tighten gently so the stitch lies flat.
- Repeat: go down ¼ inch past the end of the last stitch and come up at the end of the previous stitch, keeping the thread on the same side every time.
- Finish: take the needle to the back at the end of the line and secure the thread under a few stitches.
Tips for Perfect Stem Stitch
- Keep the thread on one side. Switching sides turns it into outline stitch and changes the twist.
- Shorten stitches on curves. Tight curves need shorter stitches to stay smooth.
- Keep stitch length even. Consistent length gives a neat, rope-like look.
- Use more strands for a bolder line. Try 4–6 strands for thick stems.
- Fill shapes with rows. Rows of stem stitch worked side by side make a textured filling.
Stem Stitch vs. Other Outline Stitches
- Backstitch: a flat, broken line; best for lettering and fine details.
- Split stitch: a smooth, chain-like line; great under satin stitch.
- Chain stitch: a bold line of loops; good for decorative outlines.
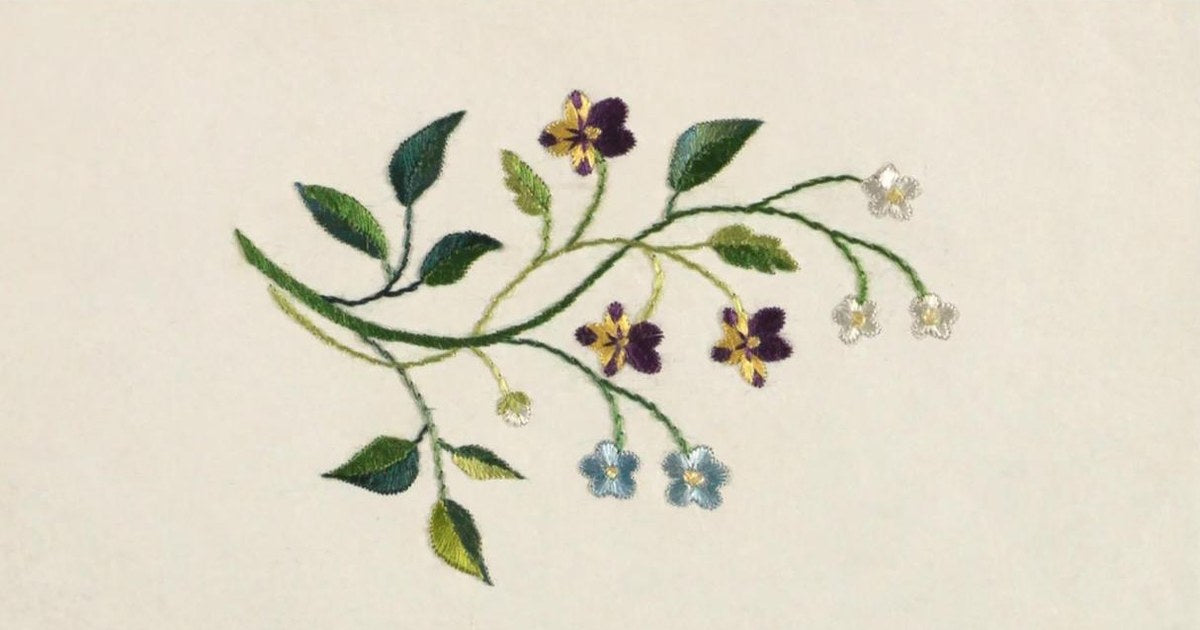
- Stem stitch: a twisted, rope-like line; ideal for stems, vines and curves.
Common Stem Stitch Mistakes
- Uneven twist: usually caused by moving the thread to the other side of the needle.
- Gaps on curves: stitches are too long; shorten them.
- Puckering: pulling too tight or fabric not taut in the hoop.
Frequently Asked Questions
What is stem stitch used for?
Flower stems, vines, outlines, lettering with curves and textured fillings.
What is the difference between stem stitch and outline stitch?
They're worked the same way, but the thread is kept below the needle for stem stitch and above it for outline stitch, which changes the direction of the twist.
How long should stem stitches be?
About ¼ inch (6 mm) for straight lines and shorter, around ⅛ inch (3 mm), for curves.
How many strands should I use for stem stitch?
2–3 strands for most designs; 4–6 strands for bold stems.
Keep Building Your Stitch Skills
Stem stitch pairs beautifully with other basics. Learn backstitch, chain stitch and satin stitch next.
Love the look of embroidery? Browse our embroidered hoodies and sweatshirts.