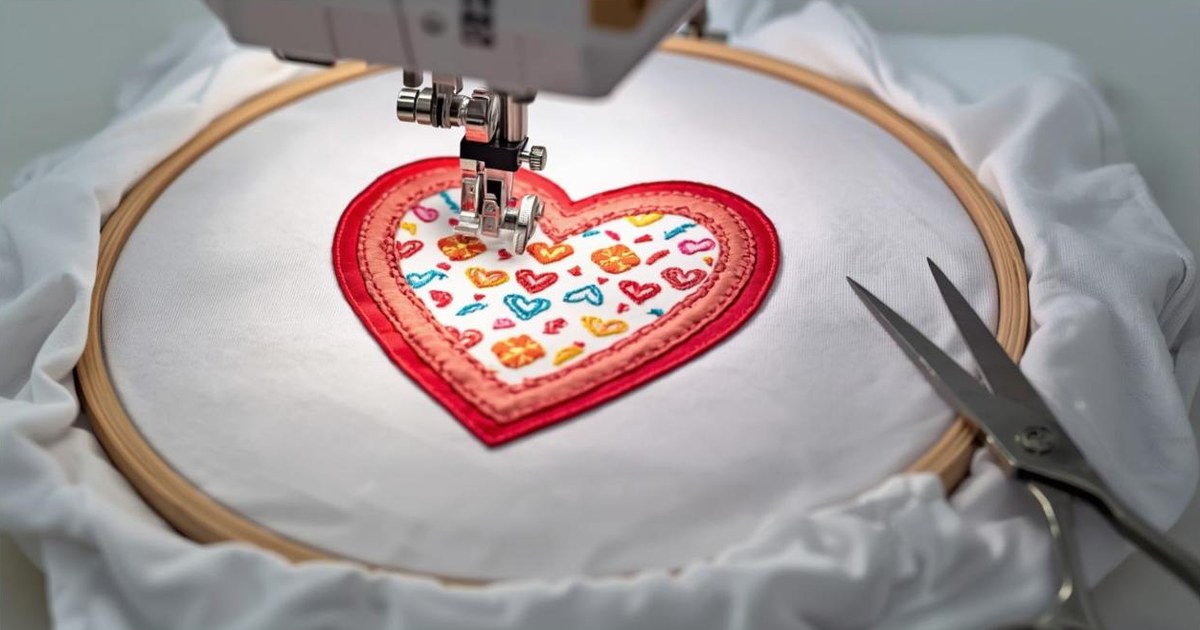
Quick answer: To do appliqué on an embroidery machine, load an appliqué design and hoop your base fabric with stabilizer. The machine first stitches a placement line. Lay your appliqué fabric over it, and the machine stitches a tack-down line. Remove the hoop from the machine (keeping the fabric hooped) and trim the excess appliqué fabric close to the tack-down stitches. Reattach the hoop and let the machine finish with a satin-stitch border that covers the raw edges.
Machine appliqué lets you add big, colorful shapes, letters and patches to fabric using far fewer stitches than a full embroidery fill. It's the technique behind varsity letters, monogram towels and kids' shirts. Here's how to do appliqué on an embroidery machine step by step.
What You Need
- An embroidery machine and hoop
- An appliqué design file with placement, tack-down and cover stitches
- Base fabric or garment, plus stabilizer (cut-away for knits, tear-away for wovens)
- Appliqué fabric, such as cotton, felt, twill or glitter vinyl
- Fusible web such as HeatnBond Lite (optional, for crisp edges)
- Small curved appliqué scissors
- Embroidery thread
How to Do Machine Appliqué: Step by Step
- Prepare the appliqué fabric. Optionally iron fusible web to the back so it stays flat and doesn't fray.
- Hoop the base fabric with the right stabilizer and attach the hoop.
- Stitch the placement line. The machine sews an outline showing where the appliqué goes.
- Place the appliqué fabric right side up, fully covering the placement line. Use tape or temporary spray adhesive to hold it.
- Stitch the tack-down line. The machine sews the fabric in place.
- Trim. Remove the hoop from the machine (don't unhoop the fabric) and trim the appliqué fabric as close to the tack-down line as possible without cutting the stitches.
- Finish. Reattach the hoop and let the machine stitch the cover stitch, usually a satin border, and any details.
- Clean up. Unhoop, remove the stabilizer and trim any stray threads.
Pre-Cut Appliqué Method
If you have a cutting machine (such as Cricut or ScanNCut), you can cut appliqué shapes in advance using the design's cut file. Place the pre-cut shape inside the placement line, then stitch the tack-down and cover stitches with no trimming step.
Tips for Clean Machine Appliqué
- Use curved appliqué scissors to trim closely without nicking the base fabric.
- Use fusible web on fabrics that fray easily.
- Choose a satin border at least 3 mm wide to fully cover the edges.
- Don't move the fabric in the hoop between steps, or the border won't line up.
- Match the bobbin thread color to the base fabric for towels and visible backs.
Popular Machine Appliqué Projects
- Monogrammed towels and baby bibs
- Kids' shirts with animals, letters and numbers
- Varsity-style letters on sweatshirts
- Holiday designs on pillows and tote bags
- Custom patches
Frequently Asked Questions
What fabric is best for machine appliqué?
Tightly woven quilting cotton, felt, twill and denim all work well. Avoid very stretchy or loosely woven fabrics.
Do I need special designs for appliqué?
Yes. Appliqué designs include separate placement, tack-down and cover stitch steps. Regular fill designs don't.
How do you keep appliqué edges from fraying?
Trim close to the tack-down line, use fusible web, and use a dense satin border.
Is appliqué faster than regular embroidery?
Usually, yes. Fabric covers large areas with far fewer stitches than a fill, saving time and thread.
Add Bold Color With Appliqué
Machine appliqué is one of the quickest ways to create big, professional designs. New to your machine? Read how to use an embroidery machine and how to make patches with an embroidery machine.
See finished embroidery on our embroidered hoodies and sweatshirts.